

Project 1
 |
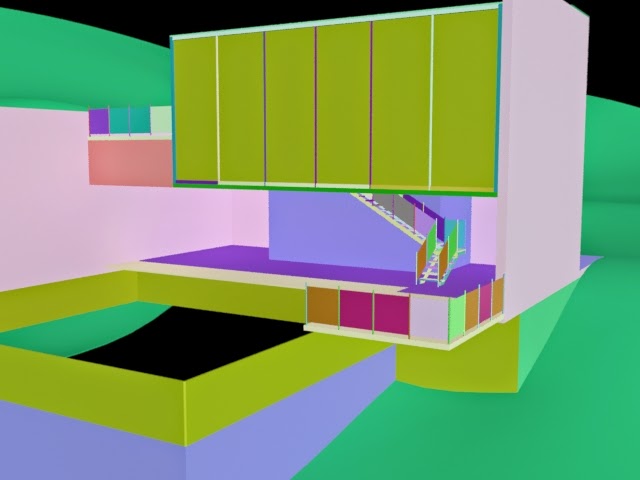
| tracing and massing my model, literally just construct a guide line for my 3D model. |
 |
| Facade and grouping of model. |
 |
| Window frame and skeletal work. |
 |
| complete facade, added roof and doors. |


Reflection:


This project is the first project of this module, it was a very interesting and fun journey from me to develop digital drawing from scratch. I love the part where literally i have a 'second chance' to fix my design that I once realize there are mistake like the dimension and etc.
Rendering Exercise

 |
| Test Render 1 |
 |
| Test Render 2 |
 |
| Test Render 3 |
 |
| Test Render 4 |
 |
| Test Render 5 |
 |
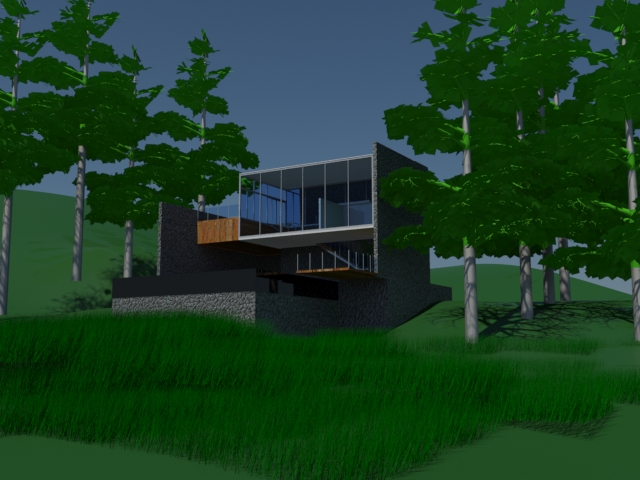
| Final Outcome 1 |
 |
| Bird Eye View Test Render 1 |
 |
| Test Montage 1 |
 |
| Final Outcome 2 |


Honestly I felt very difficult to make the building to look extremely real, I had been through a very tough experience with 3D max where my file are once crashed and I have to start from scratch again by reinserting all the material I had downloaded but in the end I felt very proud of myself to accomplish this project in time.
Project 2B
 |
| regroup all the layers in rhino again to have a better arrangement of material input |
 |
| split up the model and inserting it layer by layer again |
 |
| quick selection through the layers |
 |
| assign material with quick selection through layer mangement |
 |
| download 3D furniture online to insert into my model |
 |
| with the aid of sketchup, i did custom furniture to fit into my model |
 |
| inserting material of choice (bitmap) into my furniture |
 |
| inserting self illuminated material to my light bulbs |
 |
| Lighting and it's intensity |
 |
| setting up camera at selected perspective angle |
 |
| rendering properties and final touch up |
 |
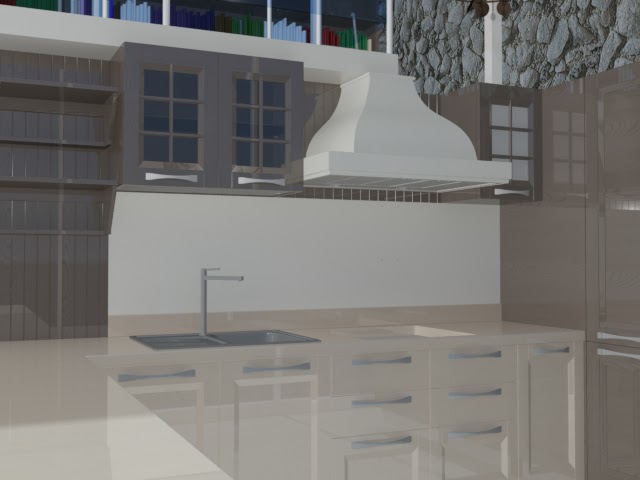
| test render 1 |
 |
| test render 2 |
 |
| test render 3 |


Reflection:


I had a lot of fun editing the material and adjusting the light. I was first having problem with the lighting as it doesn't show up in my rendering and I spend like few hours trying to figure it out wheres the source of the problem. I ended up asking help from my best friend Ronn to investigate the error and we found that the intensity of the light somehow is not high enough to show up in the rendering so we had turn up the intensity into crazy high amount like 50 000 to get the light source. I like where the part I learn the issue and trying to solve it by myself although it ended up helped by my friend, I am very satisfied with my effort in this part of the project.
Project 3 : Walk Through Animation
 |
| drawing lines to make route for my camera |
 |
| Create target camera on the top of the line |
 |
| apply follow |
 |
| uses auto key to generate animation |
 |
| moving the camera by setting auto key |
 |
| create leaf falling scene |
 |
| editing the texture |
 |
| rough modeling of the landscape to fit my model |
 |
| importing my model into the scene |
 |
| reposition of my model so it frames the view i wanted to be |
 |
| refining the landscape to fit my model properly |
 |
| assign material of my model |
 |
| adding furniture into the model |
 |
| adding people into the scene |
 |
| add vegetation info the scene |
 |
| lastly, adjusting weather, light and shadow |
 |
| generating the animation frame by frame |
 |
| cast advance movement into the animation |
 |
| uses multiple scene to narrate my design |
 |
| editing the song, remove the vocal to fit my video |
 |
| touching up everything with window movie maker and save into mp4 |
Final Outcome
Reflection:


This is my favorite part of all the project that had been assigned to me. I felt very proud of myself animating the video and completing the design at last fixing all the mistake that I had made in previous module of Architecture Studio where I felt that I had achieved one of my life goal where I must animate and narrate my own design where I had began with.


